Spoiler alert to family who follow my blog...You will be getting Silhouettes.
In kindergarten, I vaguely remember my teacher shining a light at us while we stood by a wall with a big piece of white paper taped on it. It was so hard trying not to wiggle as she traced our shadow which we turned into a silhouette. I used an overhead projector in my preschool classroom to create silhouettes, which were a big hit among parents. Those kids hated standing still too. Thank goodness things have gotten a little more sophisticated so that as we can replicate this process without the need for a large light, and trying to make a 4 year old sit still for a whole 3 minutes. Technology rocks.
Now, there is no need to spend $$$ to buy silhouettes. You can make your own!
Cheap.
Easy.
Fun.
Stylish.
I found a neat way to use technology to create this fun craft on the web:
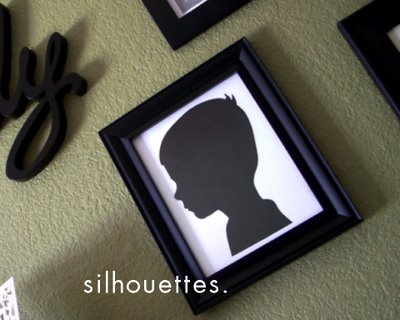
First, grab your subjects and have them stand in front of a contrasting wall. In my case, I used a white wall, but a dark color would work just as well. Get right down on their level, as not to distort their facial features.
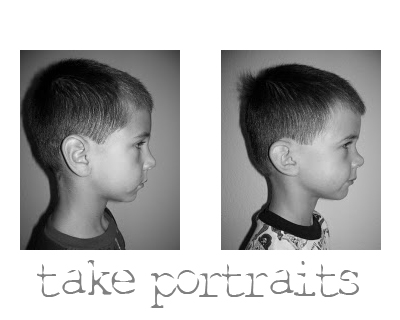
Take a few photos, sometimes it's nice to have more than one to choose from.
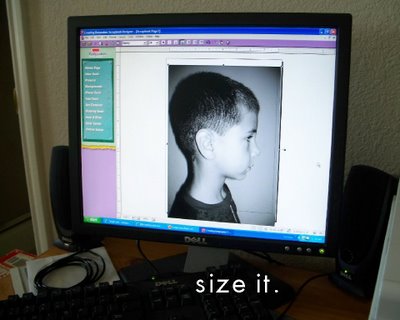
Using your own photo editing software, size the photo to fit your chosen frame. I used two 8X10's.
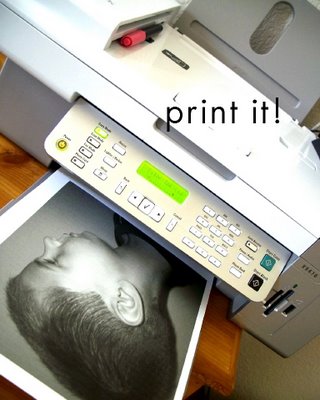
Load white cardstock into your printer, and then print away!
Next, with a steady hand, cut out your subject's profile, being careful around facial features.
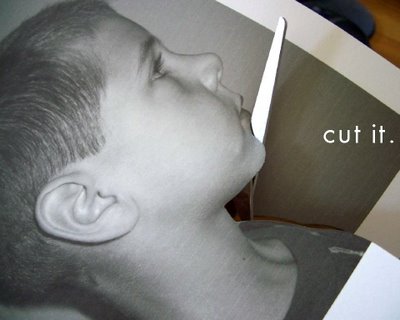
Then, my favorite part begins! Turn your silhouette photo side down onto a paper towel. Using a foam brush, apply an even layer of black tempera paint. (Any color would look great, but black is classic.)
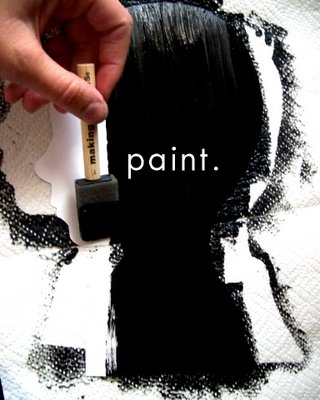
Transfer onto a clean paper towel and allow to dry.
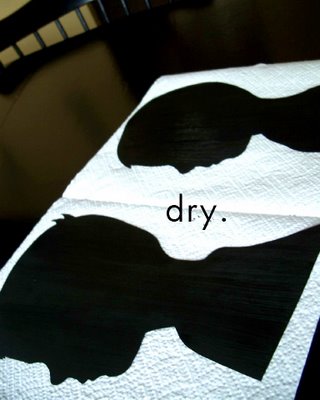
When it's completely dry, cover the back of the painted silhouette with acid free adhesive. Affix onto another piece of cardstock. Allow to dry.
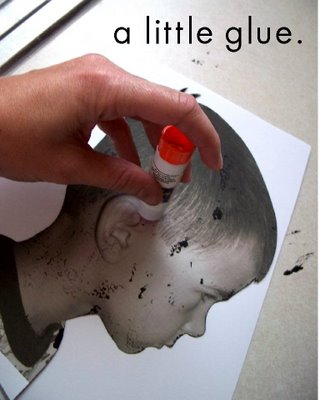
Then, frame 'er up!
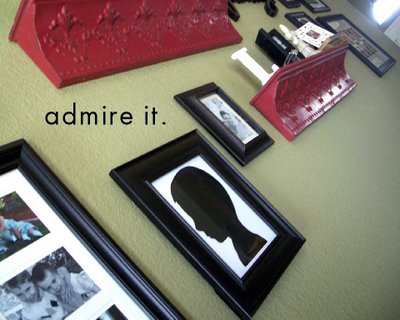
Can you imagine a whole wall of these?! I think I'll need a bit more paint for that.
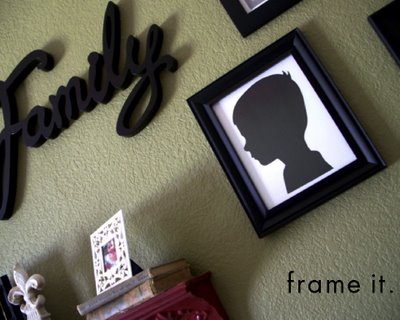
Wasn't that easy? It only takes about an hour (with drying time) and costs less than a few sheets of paper and a little paint. How's that for a good deal?!
Make a collage of smaller silhouettes, so cute!

No comments:
Post a Comment